
Every parents wants that their kids learn singing,dancing, painting etc etc..But as a parent we ignore a very important art that our kids must learn and this skill is going to help them throughout their life… Guess what???
Yes its cooking
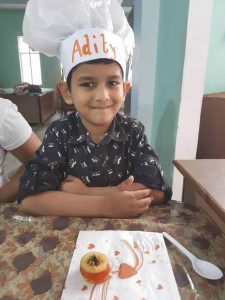
Cooking is a perfect occasion for you to bond with your kids, if they love to experiment with food. But if you are afraid of the fire accidents that might happen in your kitchen, go for some no-flame recipes. Here we are with some non flame yummy recipes that little hands definitely wants to try.
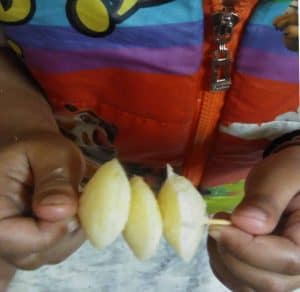
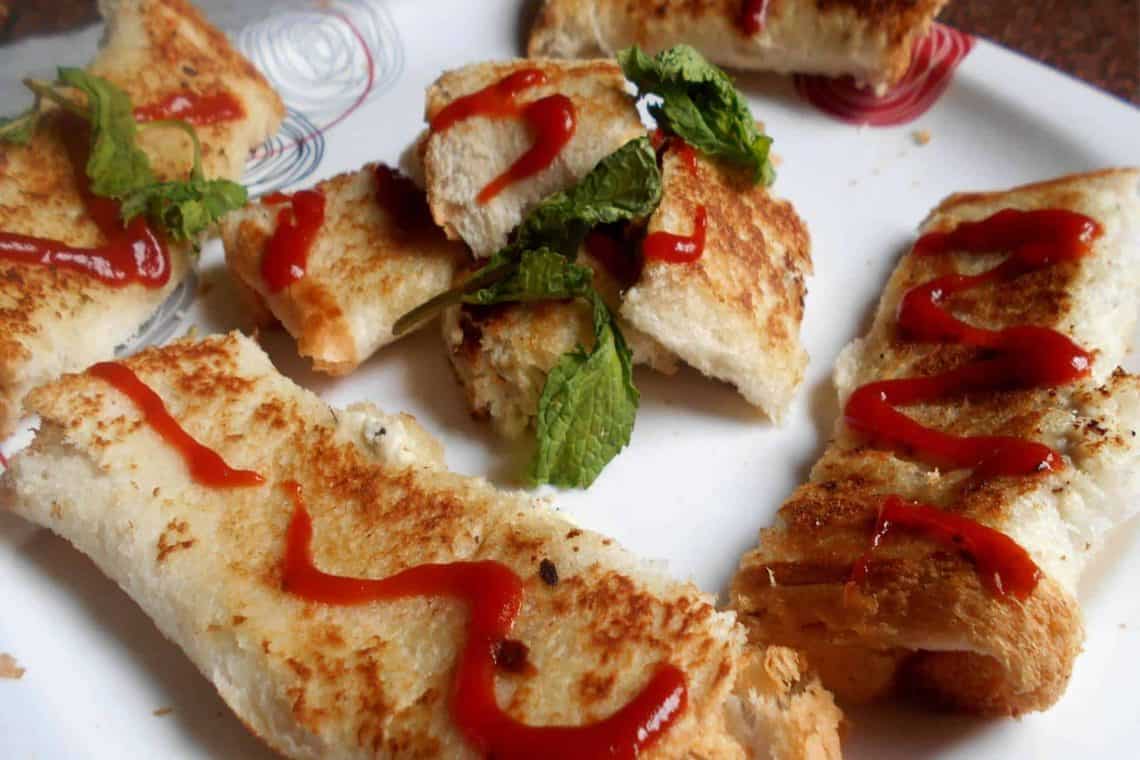
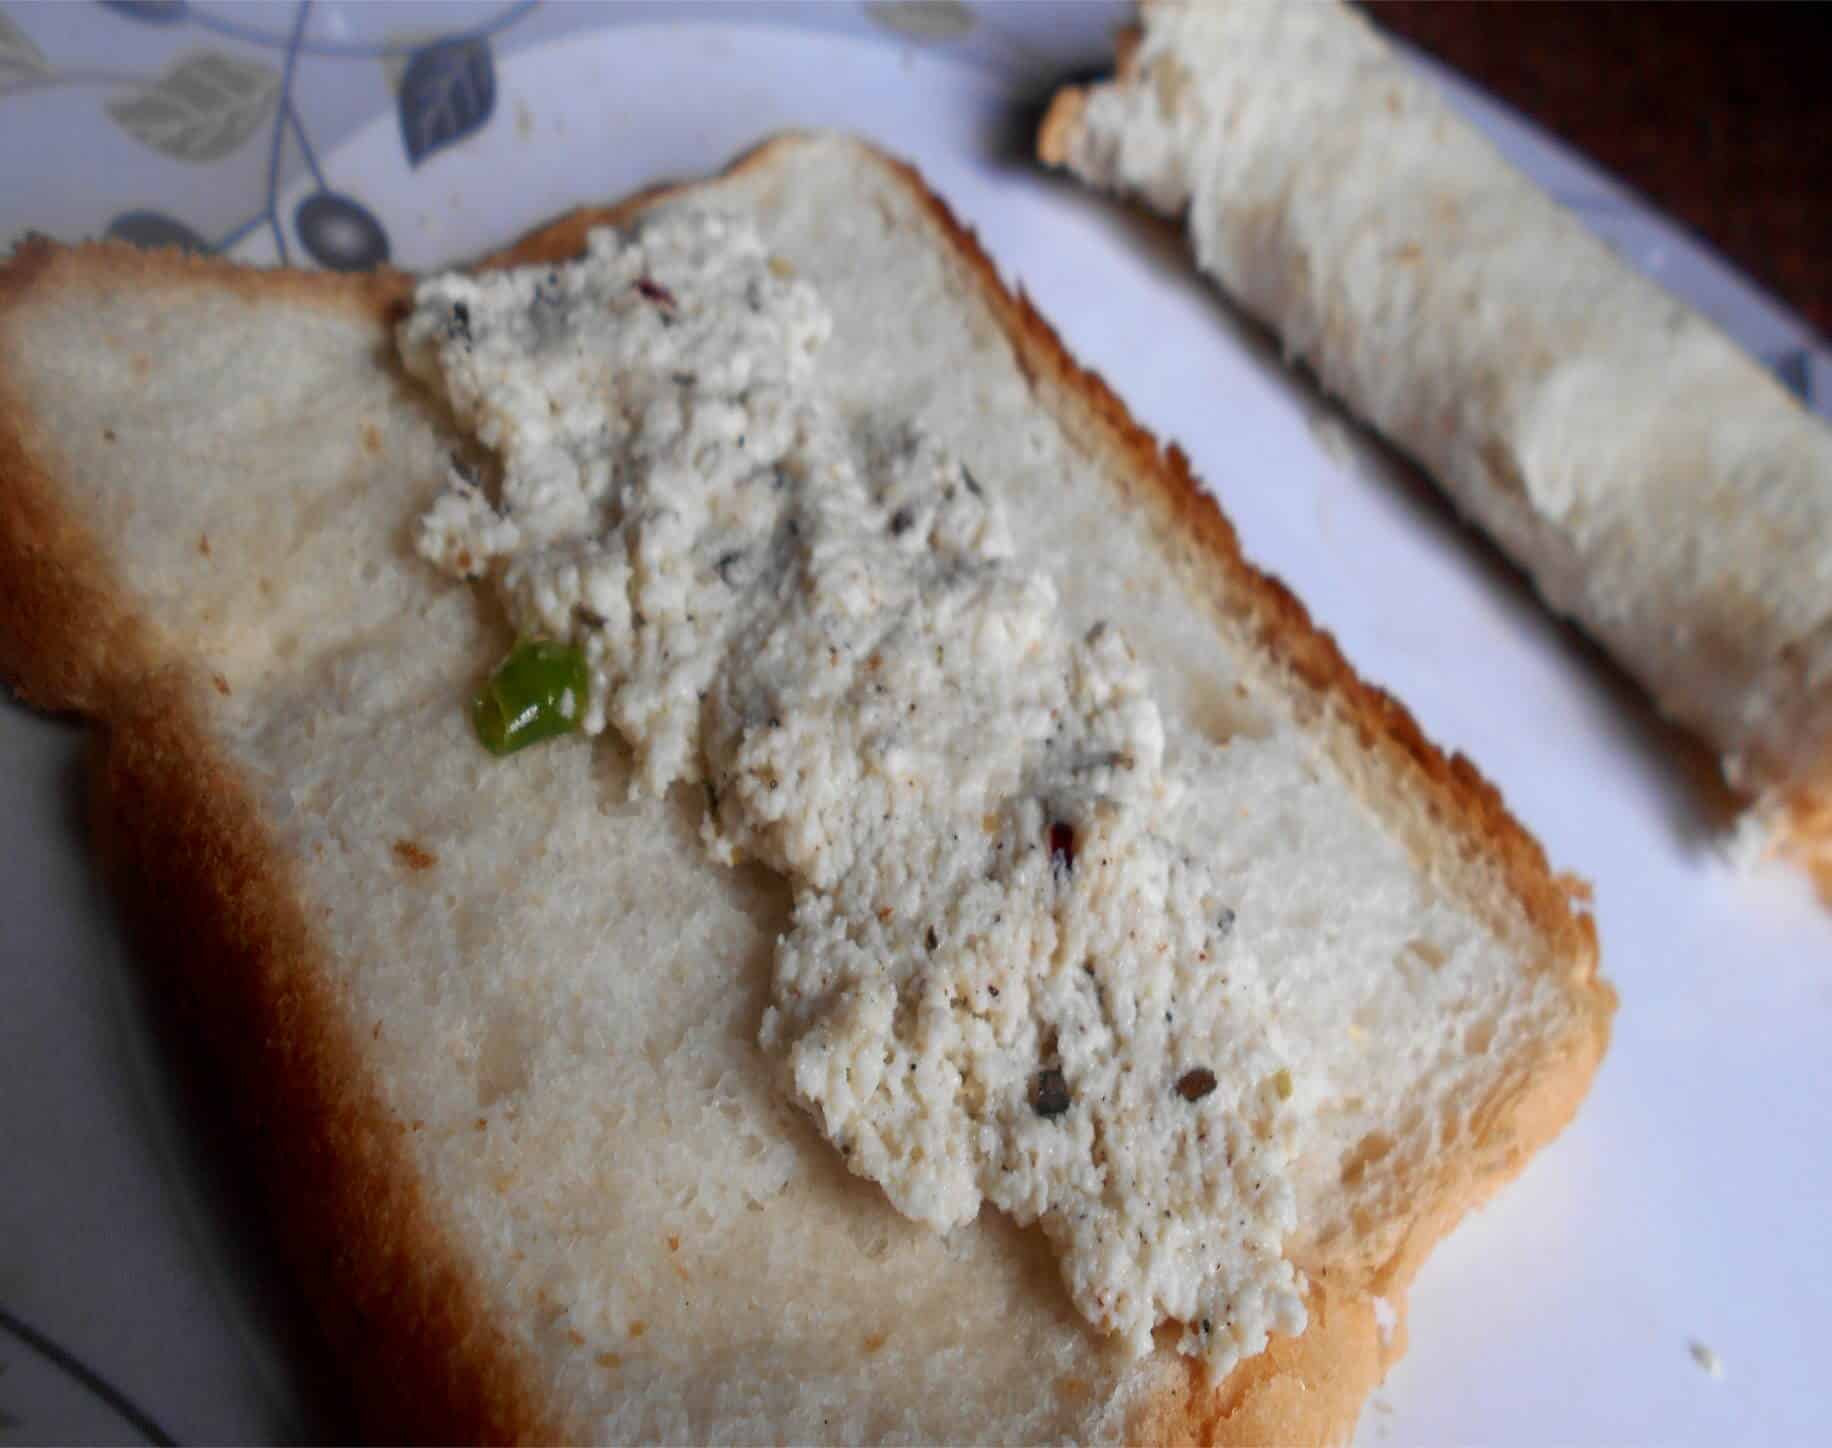
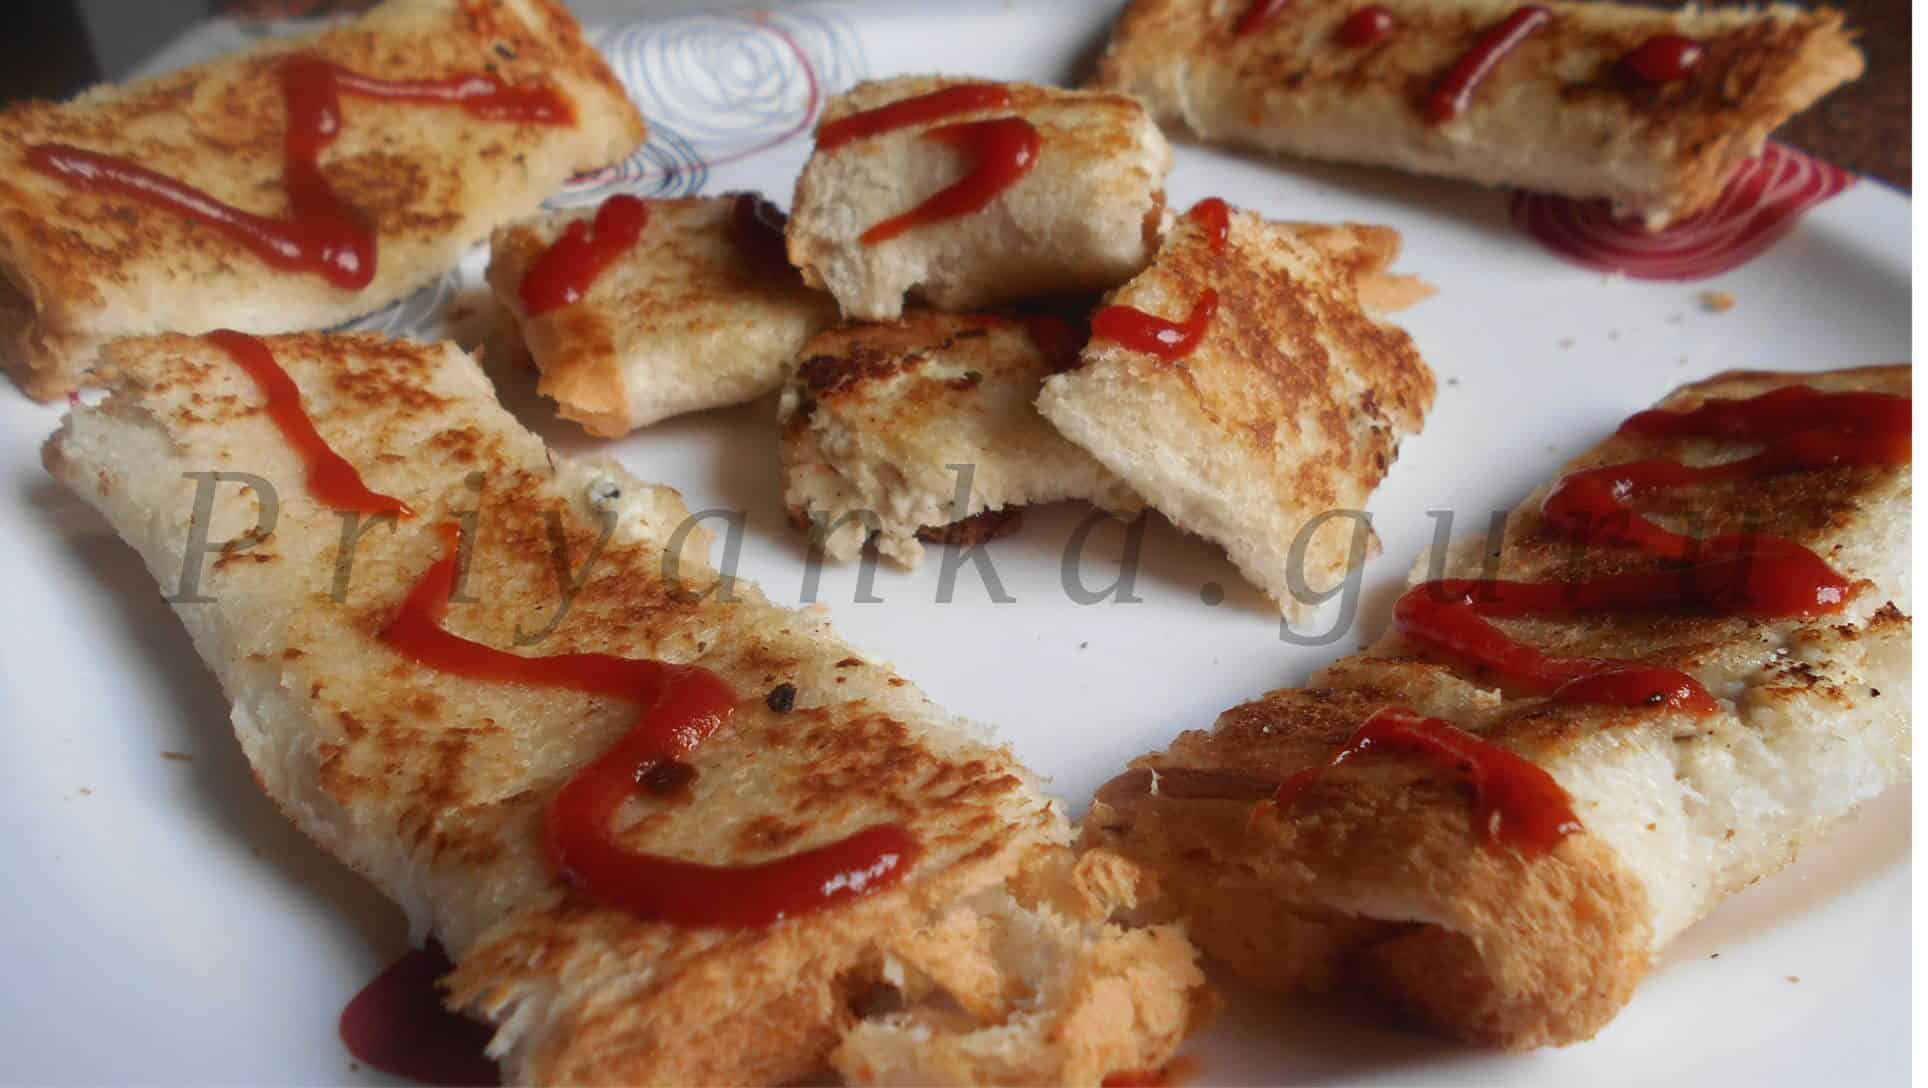
1. Jam pinwheel
Ingredients required:
Bread – 4 slices
Jam – Fruit/Strawberry( your choice)
Method of preparation:
1.Cut the edges of the bread(brown part).
2.Now take a bread slice and with a rolling pin(belan) slightly flatten the bread.
3.Apply jam in one part of the bread.
4.Roll the bread and cut it into pieces.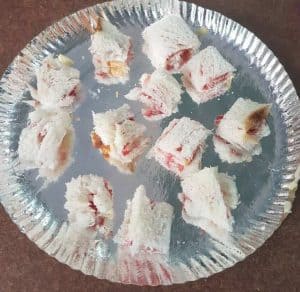
Enjoy kids..your easy pizy snacks is ready to taste.
2. Monaco Masti
Ingredients required
1. Monaco biscuits – 10 pieces
2. Cheese slices
3. ketchup
4. Onion, tomato slices(optional)
5. Coriander leafs
6. Bhujia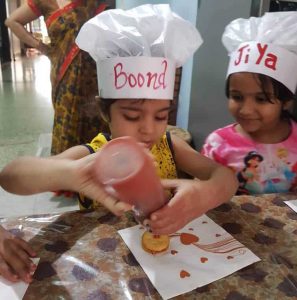
Method of preparation
1.Take 1 monaco biscuit and put cheese slice to it.
2. Now put tomato and onion slices and sprinkle chat masala over it.
3. Cover it with other piece of biscuit.
4. Garnish it with drop of tomato ketchup, bhujia and coriander leafs.
See the video of fireless cooking, my daughter enjoyed it so much
…….Some important article……
Why early learning is so important???
28 Iron Rich Food for babies/toddlers/kids proper devlopment
Homemade kesar badam(Almond) powder for Kids – An Instant Drink
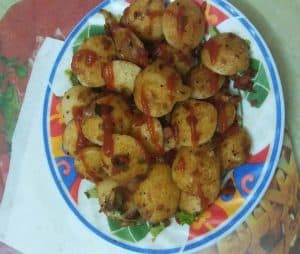
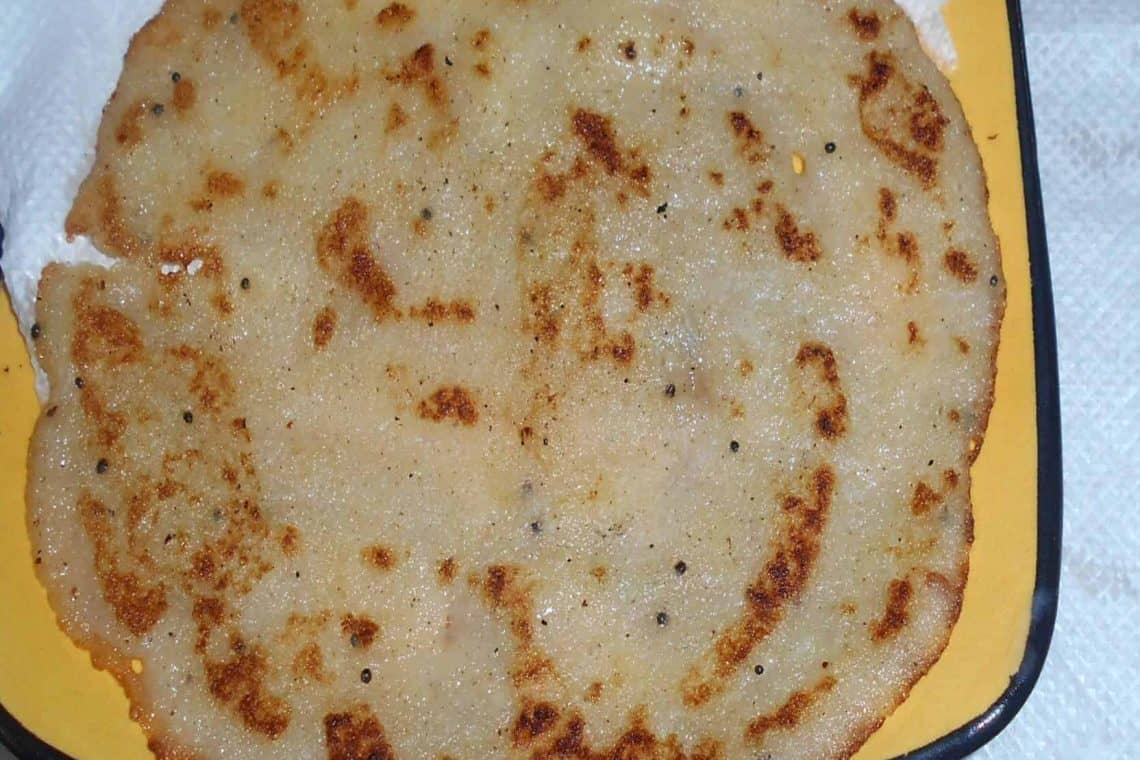
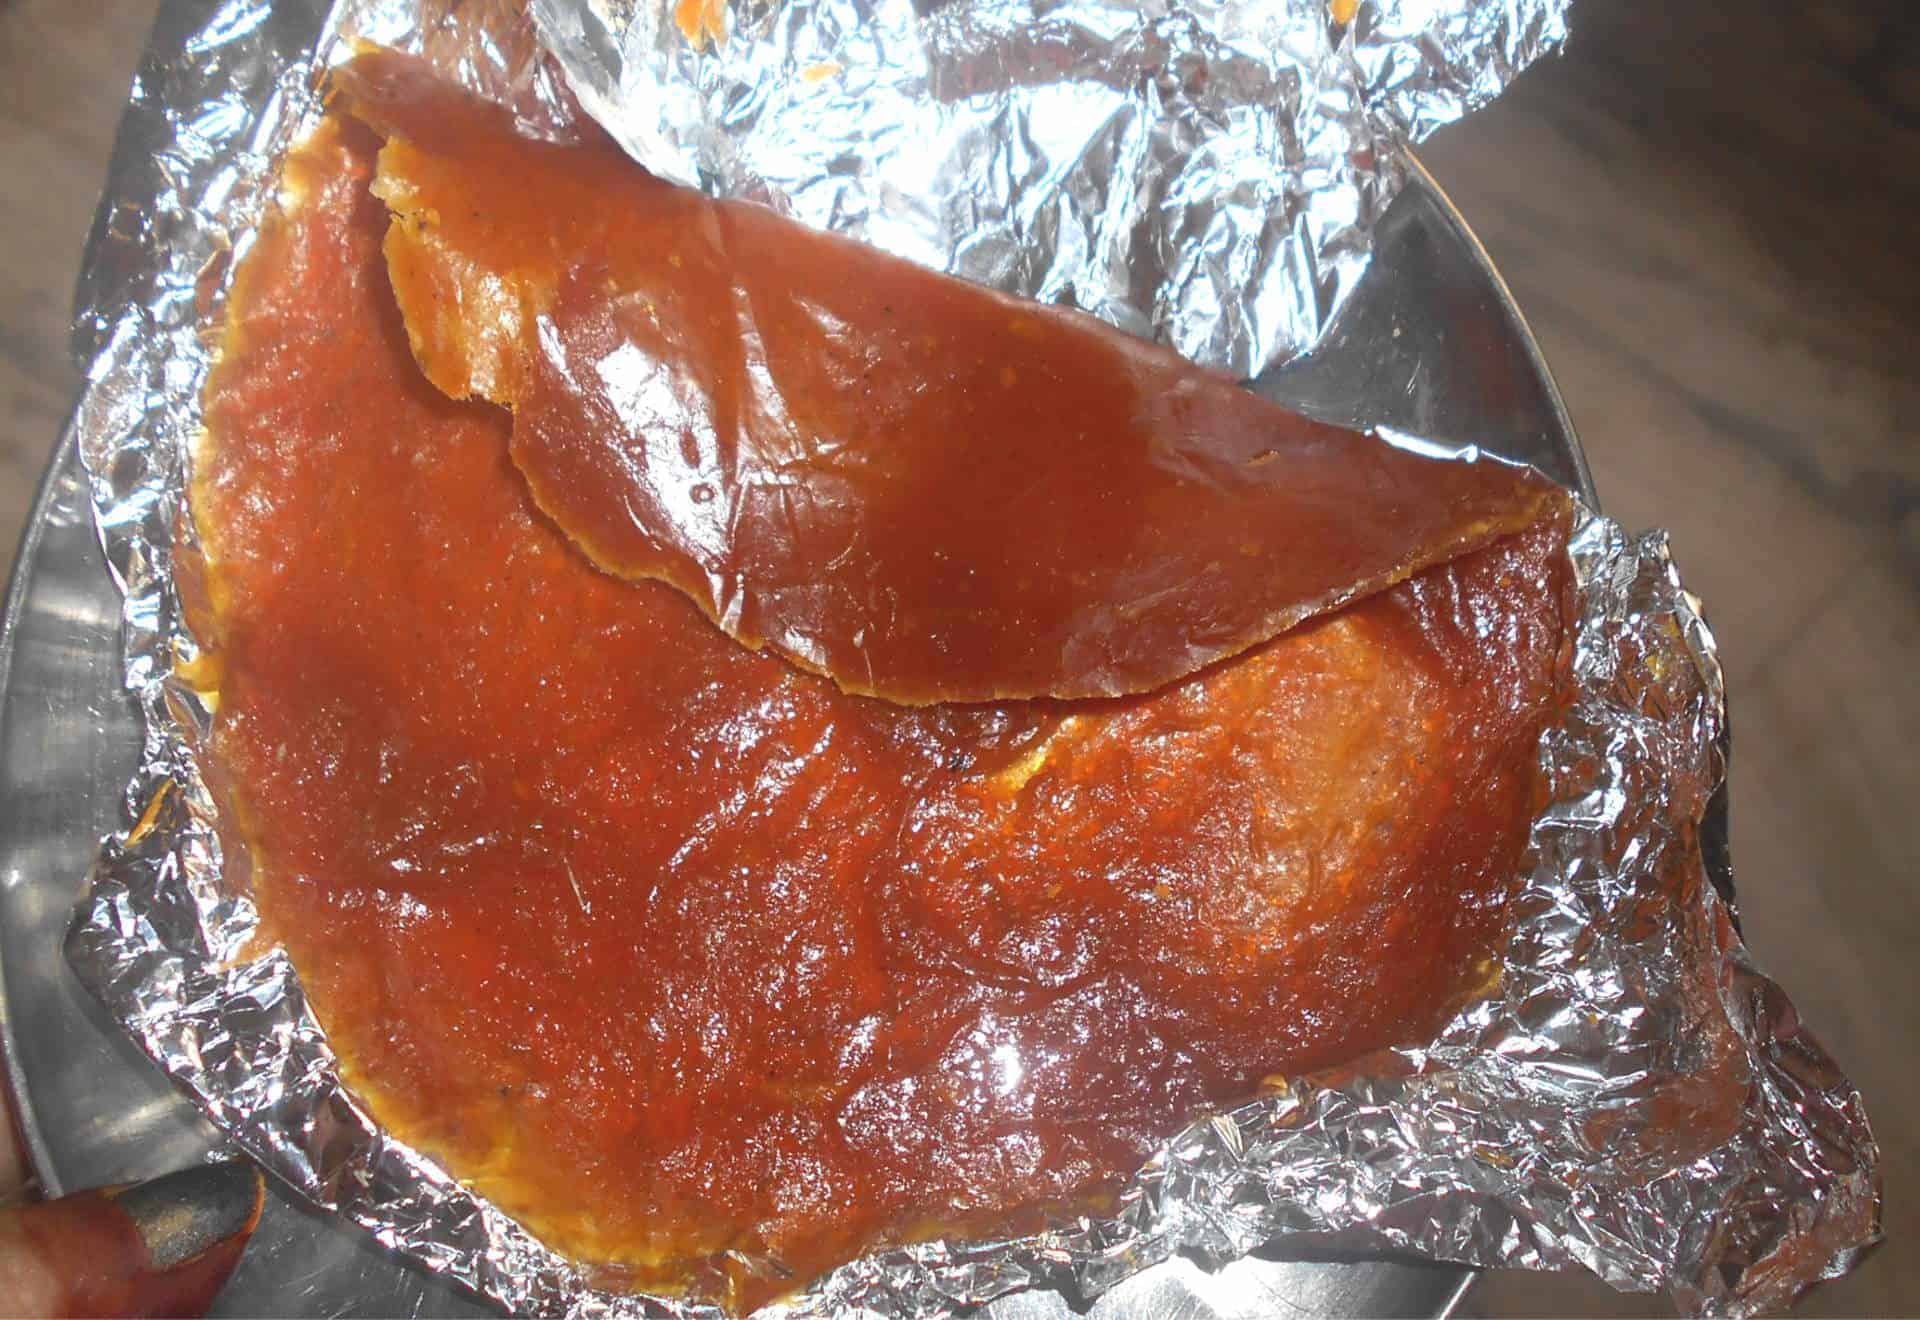
3. Bread dahi bada
This recipe remind me my childhood days. When I was around 10 years old, i used to prepare it by myself at the time of choti choti bhuk. Its a very easy and instant recipe.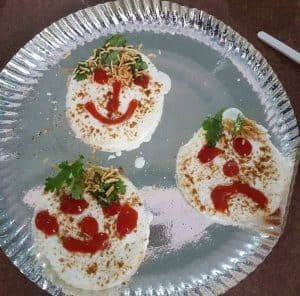
Ingredients required
1. Bread slices – 4
2. Sugar – 1tsp
3. Salt – 1tsp
4. Roasted cumin powder
5. Tomato ketchup
6. Bhujia
7. Fresh coriander leafs(optional)
Method of preparation
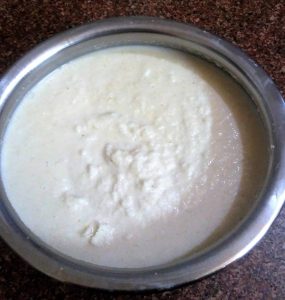
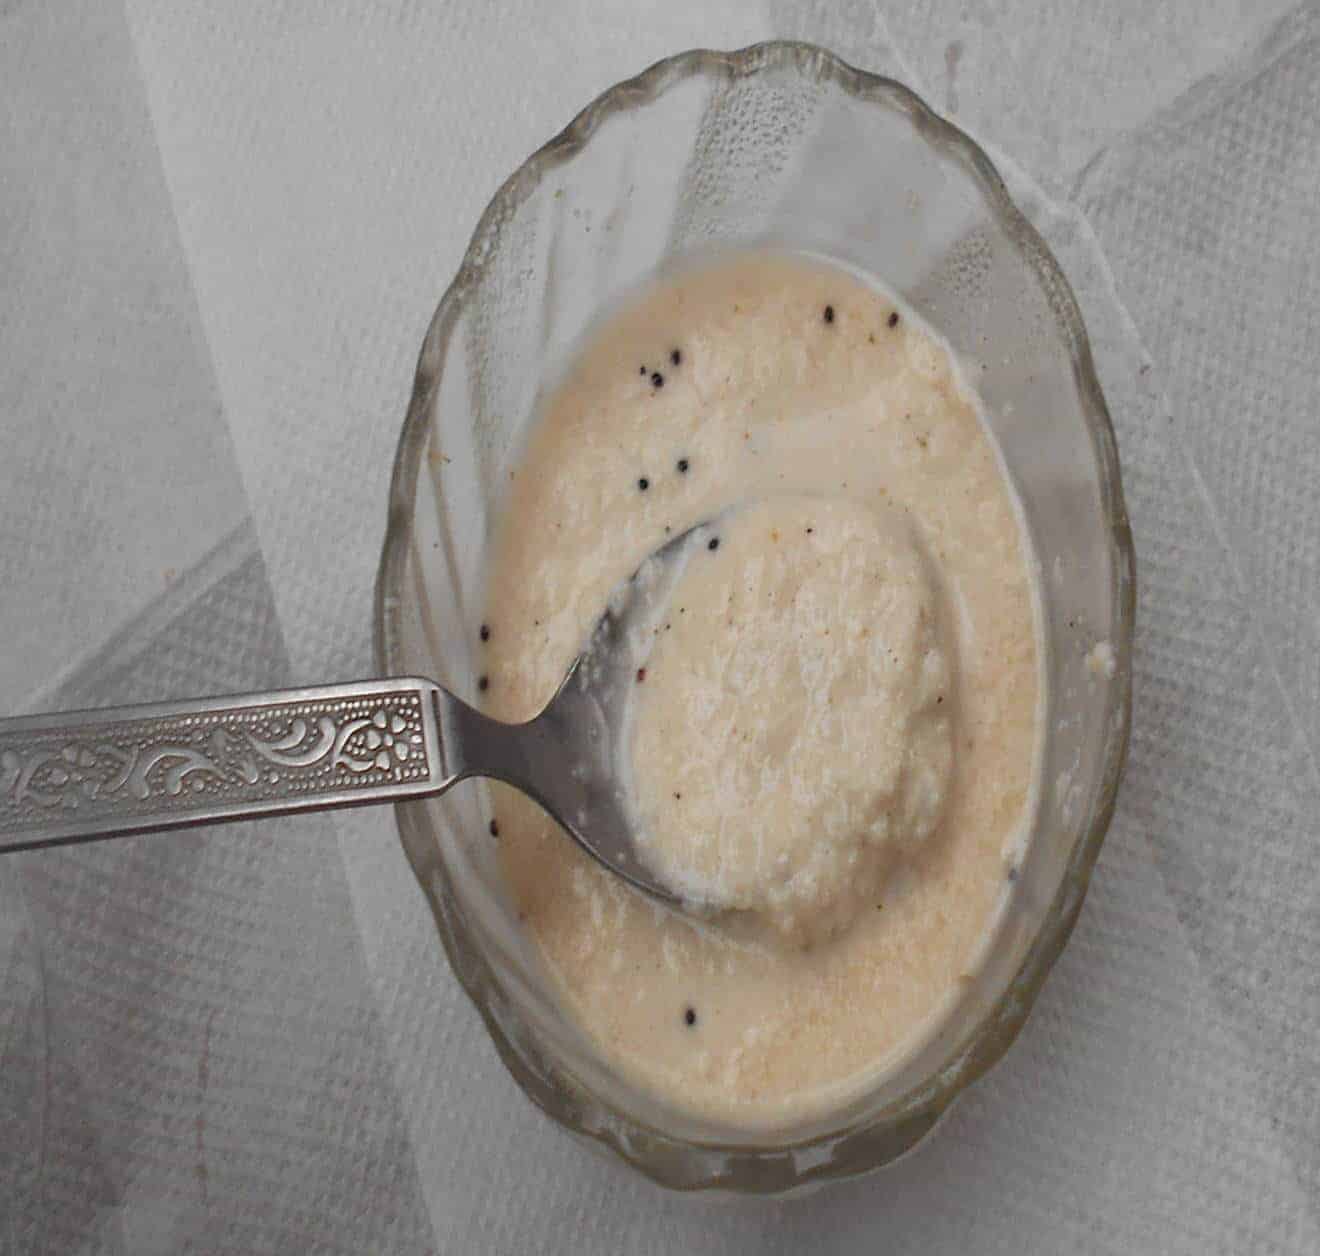
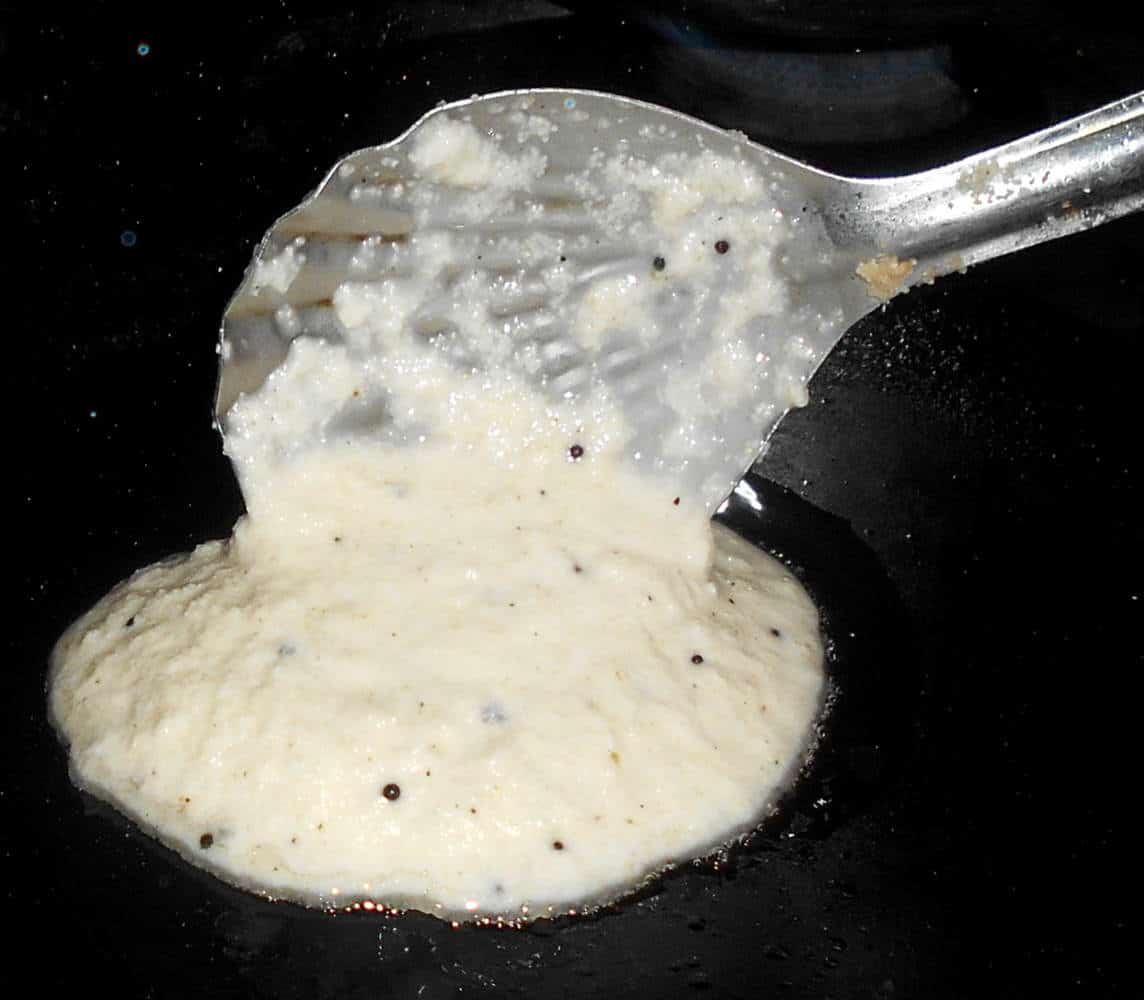
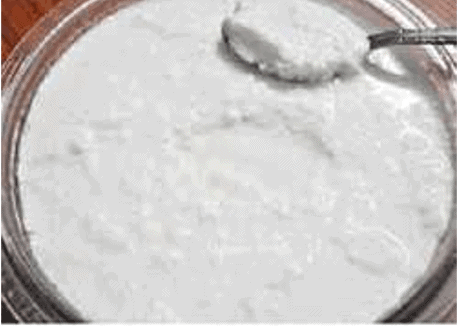
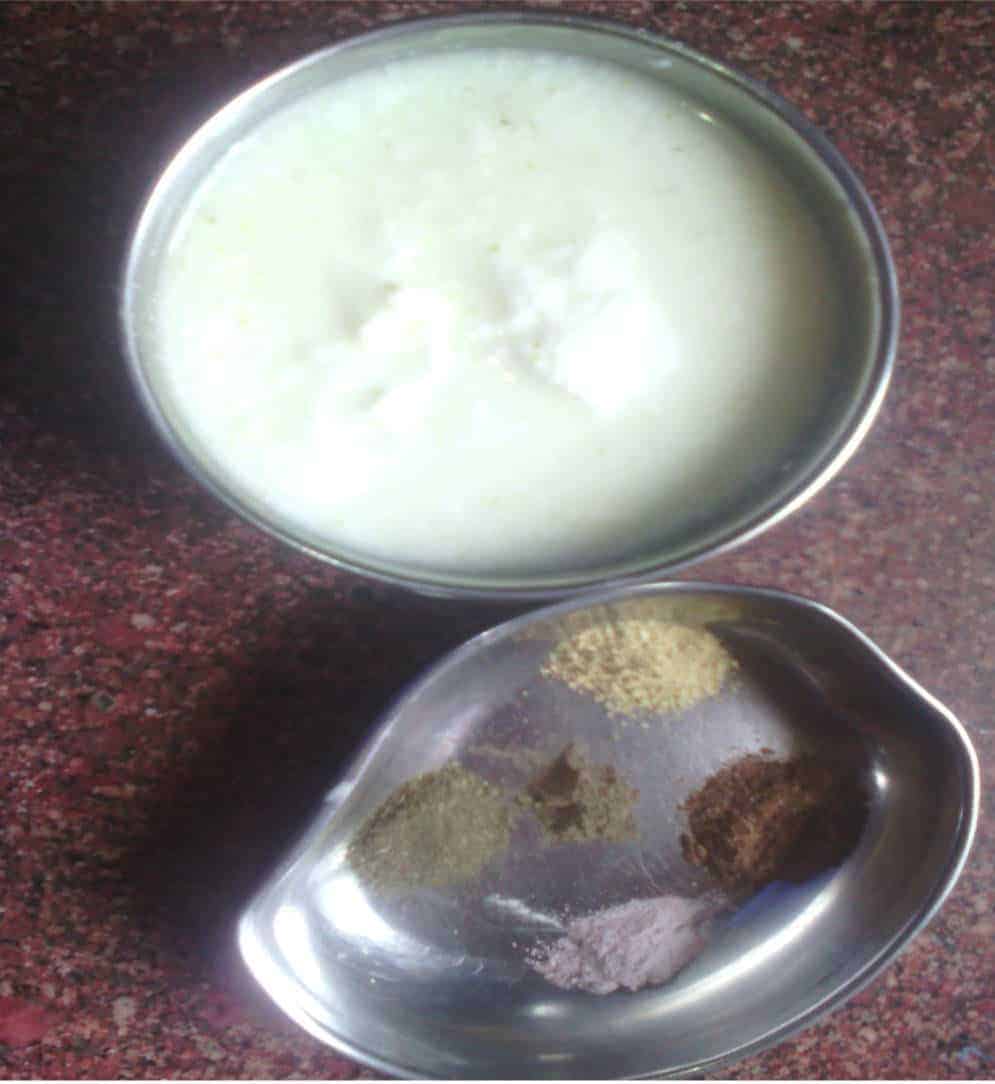
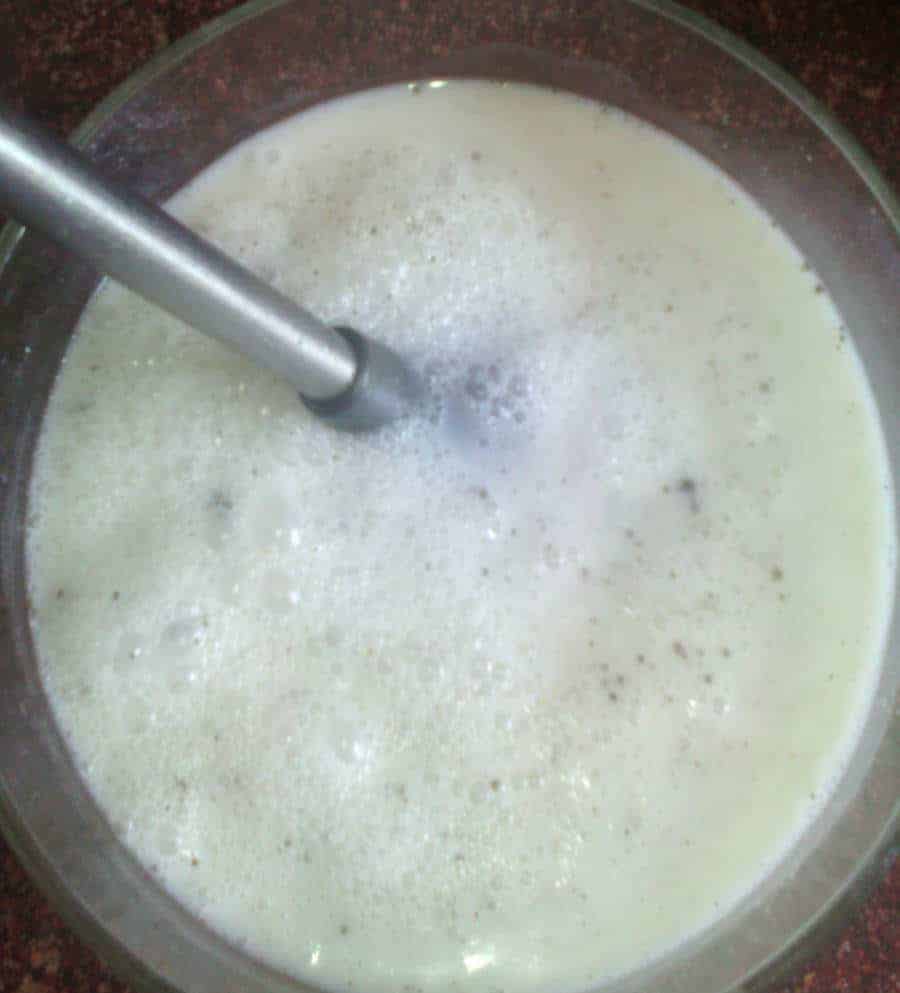
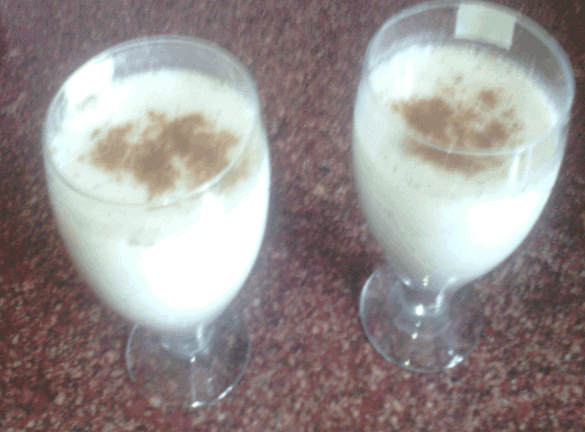
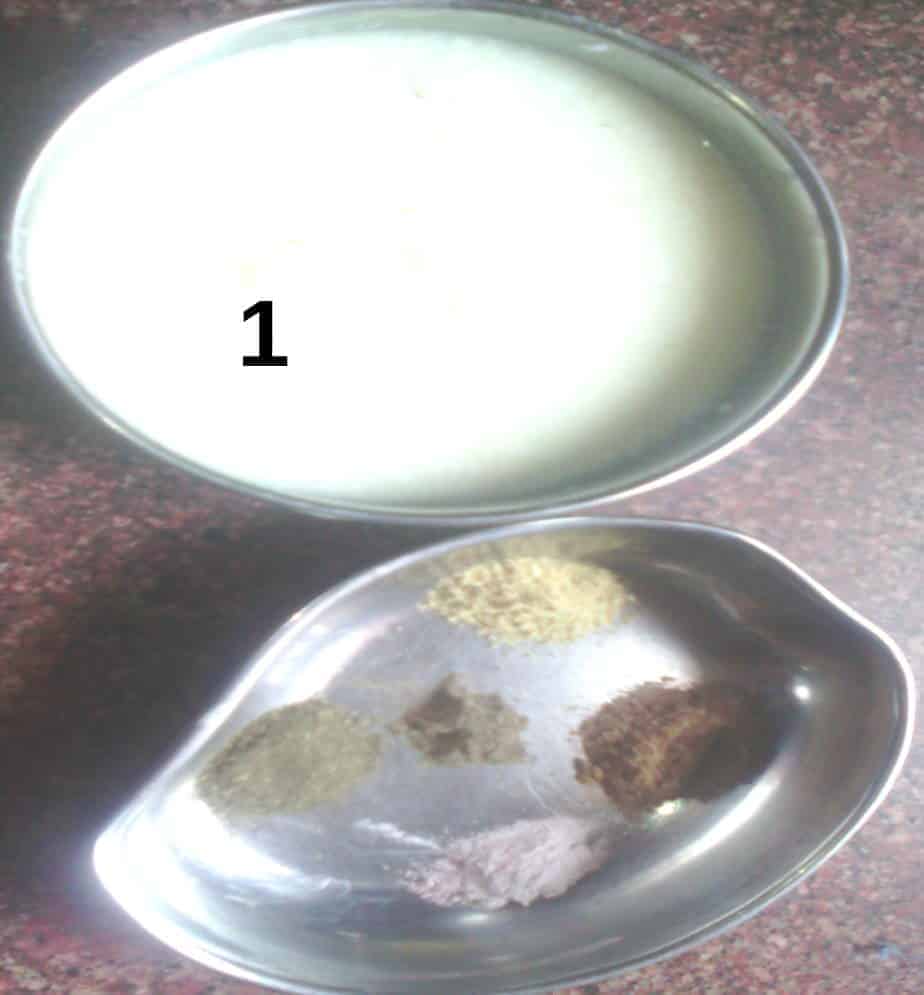
1.Take chilled curd in a bowl and whisk well.
2. Add 1 tbsp of water, salt and sugar in the curd and mix well.
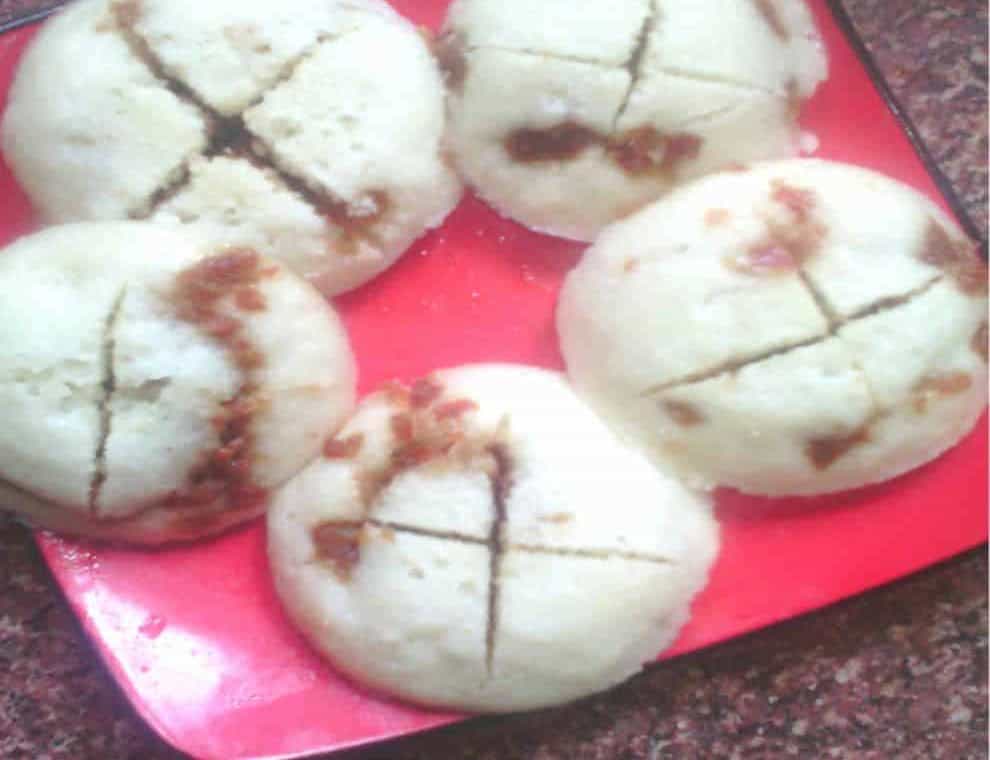
3. With a sharp bowl or mould , cut bread in round shape.
4. Put the bread in a plate and pour curd to it or you can directly dip the bread in curd.
5. Sprinkle cumin powder, pinch of salt to it.
6. Make different faces with sauce , bhujia and coriander leafs.
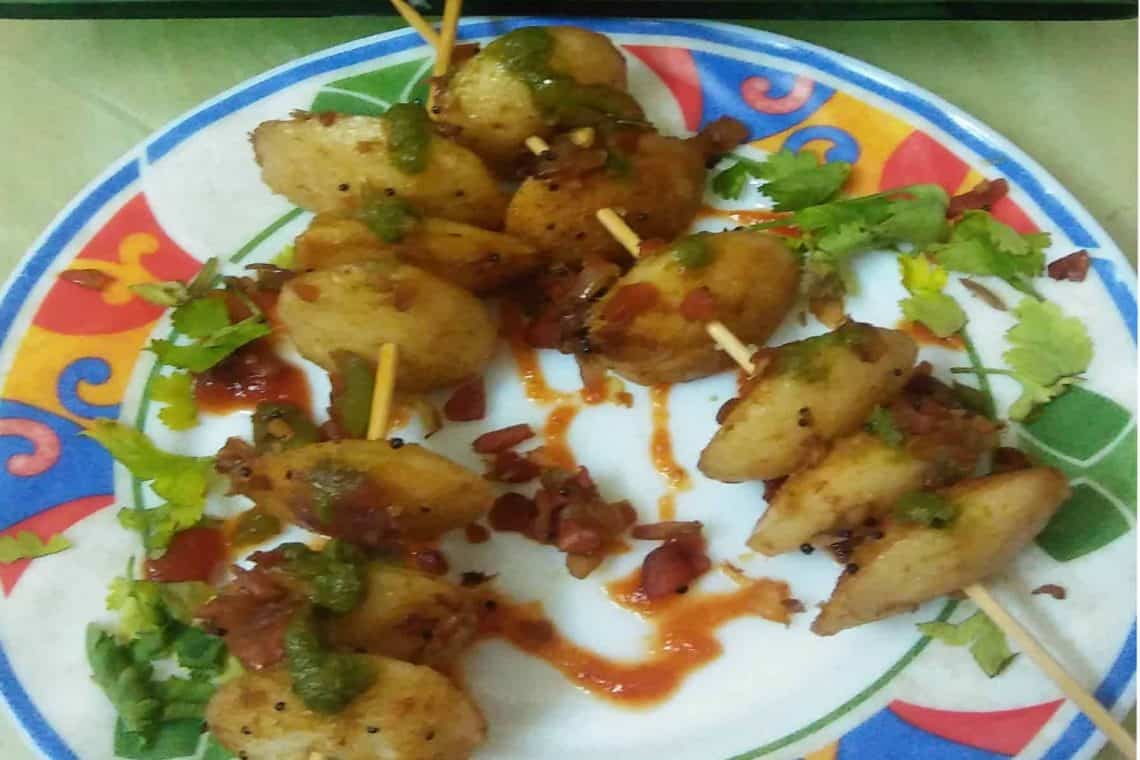
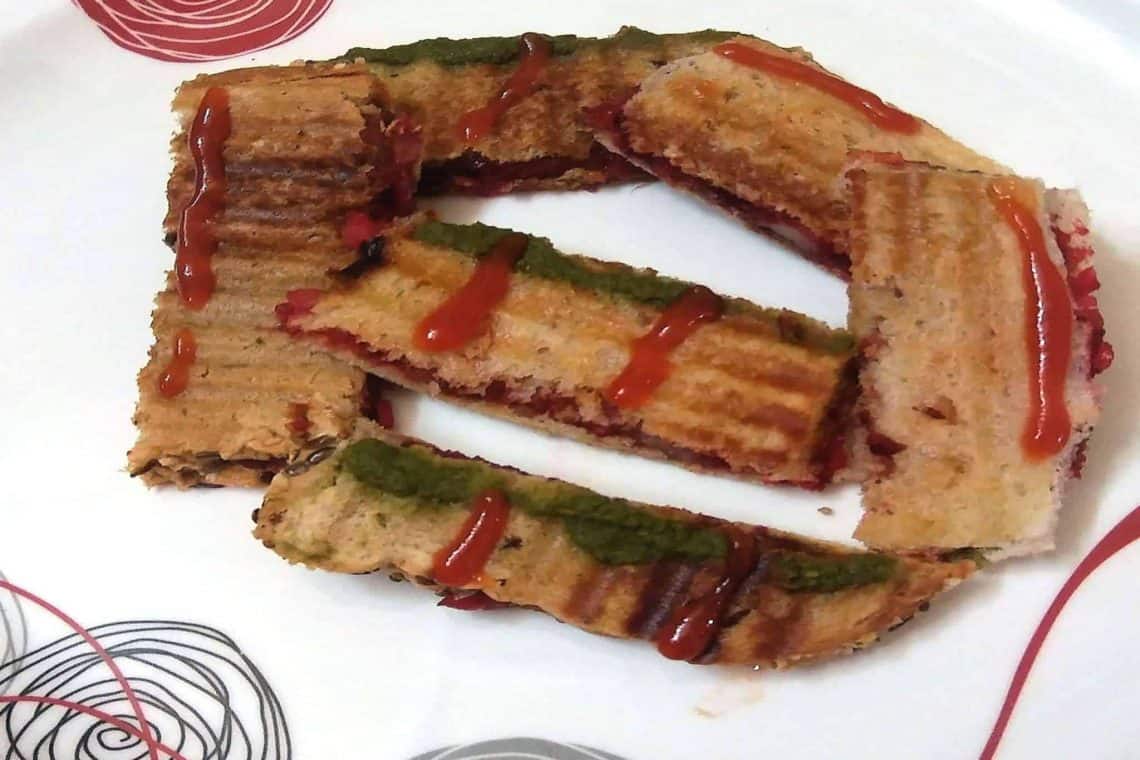
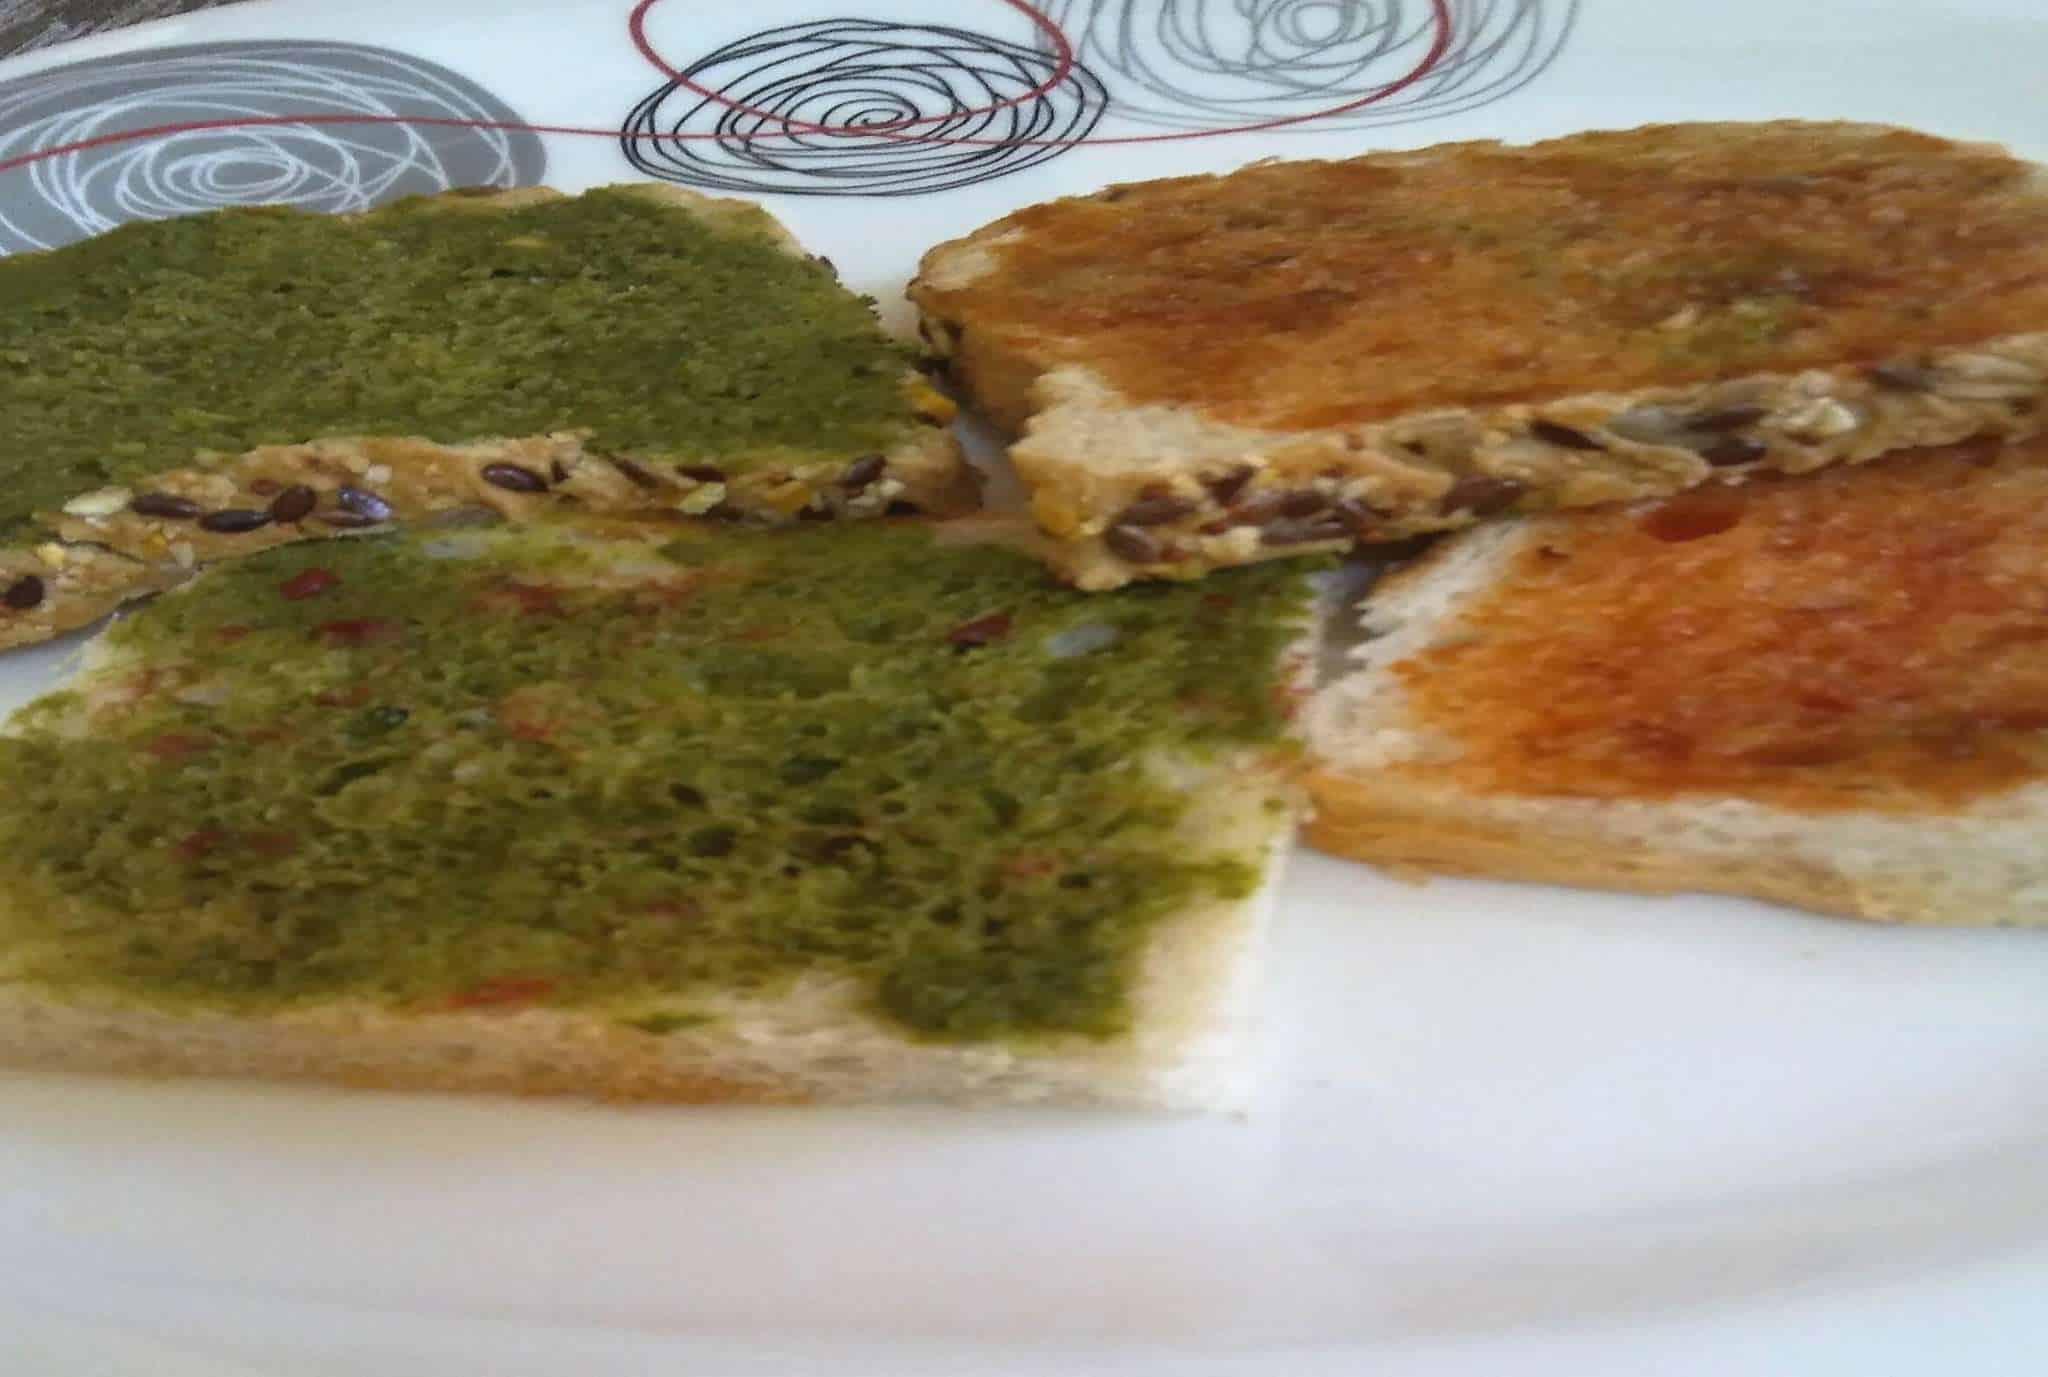
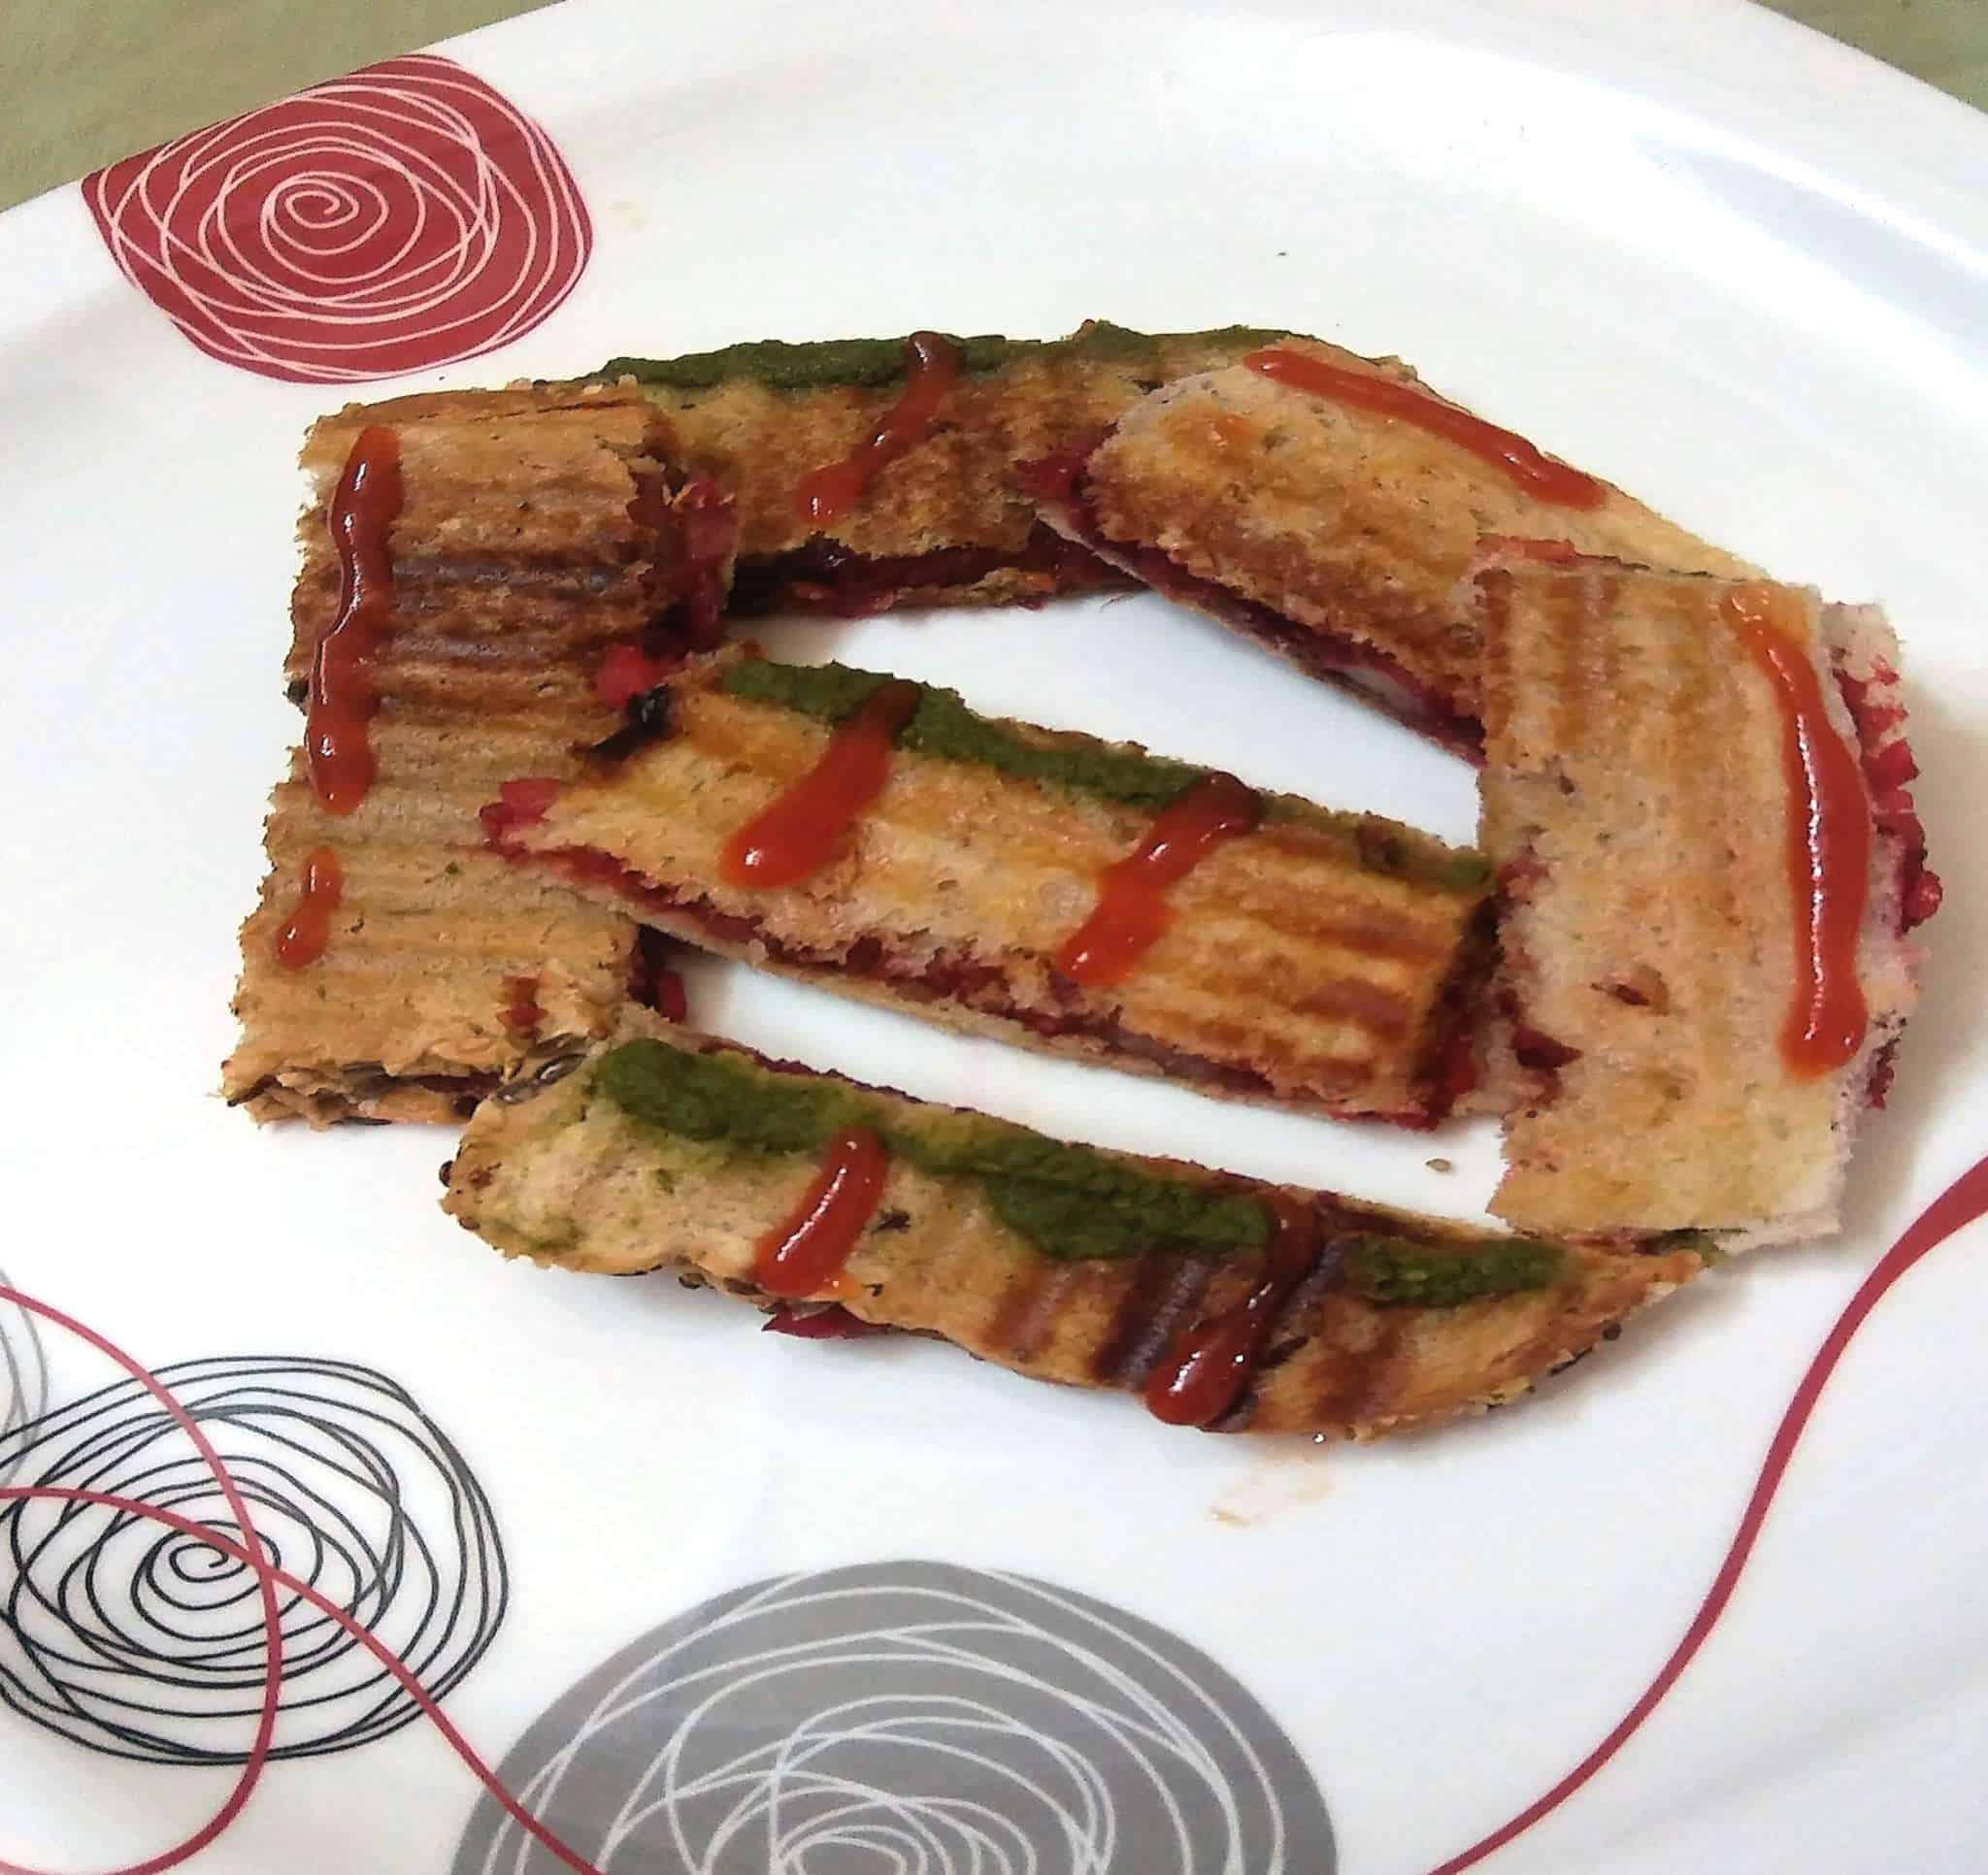
4. Jhatpat bhujia sandwich
This recipe is a good option during traveling and loved by both kids and elders.
Ingredients required
1. Bread slices (cut edges) – 4
2. Tomato ketchup
3. Bhujia
4. Butter( optional)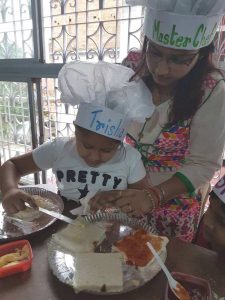
Method of preparation
1. Apply ketchup on one side of the bread.
2. Apply butter on other bread.
3. Sprinkle bhujia on the bread where you had applied ketchup.
4. Cover it with butter applied bread.
5. Cut it in traingle shape and enjoy the dish.
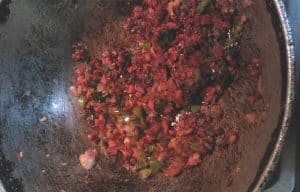
5. Healthy bhel
It is a all time hit evening snacks.
Ingredients required
1. Murmure/ puffed rice/ mudhi – 1cup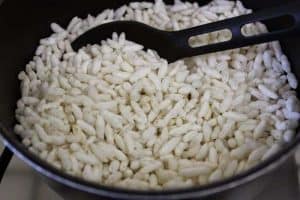
2. Bhujia – 1tbsp
3. Finely chopped veggies – onion, tomato, cucumber, coriander leafs
4. Mustard oil – 1tsp
5. Salt, chat masala(optional)
Method of preparation
Mix all the ingredients well and enjoy jhal mudhi.
Sorry no pics of bhel, kids finished it so fast I didn’t get time to click.😜
Hope your kids loved these snacks.
Hope I am able to explain it well, still for any doubt feel free to ask me. Write your doubt in the comment section.
To get regular updates please subscribe to my blog and like my face book page.


